How to Remove a Pioneer Head Unit – A Quick and Easy Guide
Welcome to the Ultimate Guide on How to Remove a Pioneer Radio!
Like other gadgets, radios can also get old and need replacement. If not an older model, you might want to replace a radio to install different specifications. Thus, whatever the reason that dragged you here today, I assure you will find the steps easy to follow.
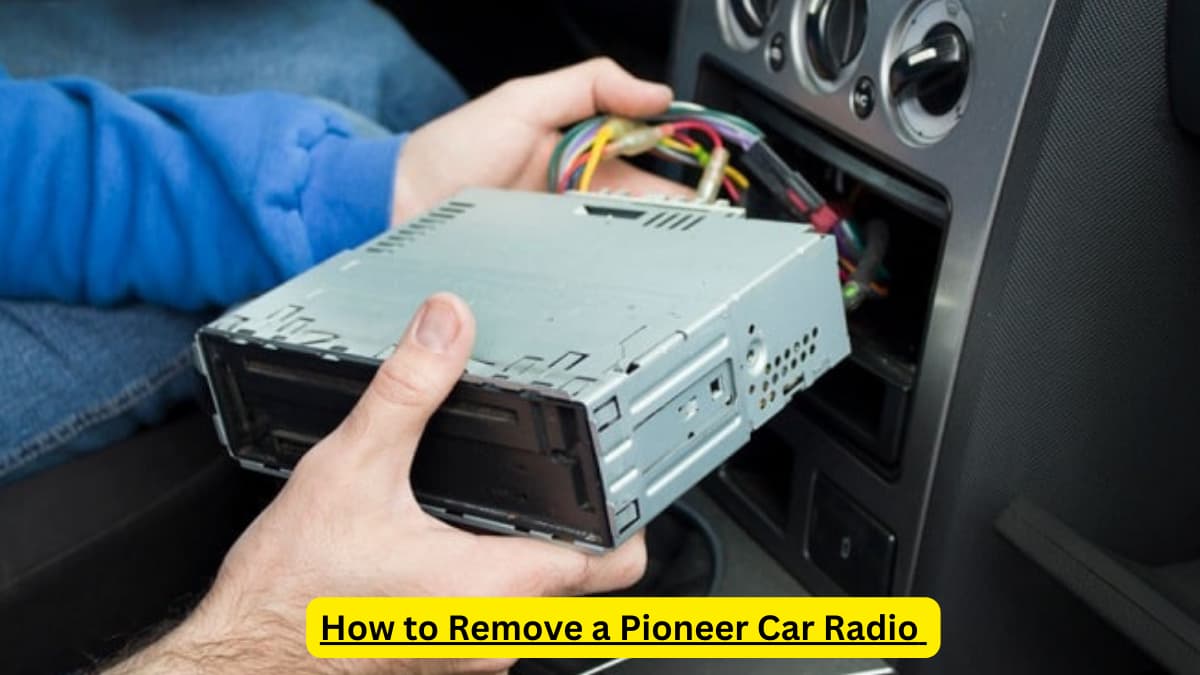
How to Remove a Pioneer Car Radio
This guide elaborates on how to take out Pioneer radio from your car without any damage. Moreover, I will discuss a few frequently asked questions to help you understand how car stereos work. So, say goodbye to the car repair shops and save some bucks when you can pull the stereo yourself.
Show it to me already!
Do I Need Car Stereo Removal Keys to Remove My Pioneer Car Radio?
Most Pioneer radios are easy to take off from the panel. In short, no, you do not have to have your car radio removal keys to remove the Pioneer head unit. This guide will help you do that even if you misplaced your keys somewhere and need to remove the stereo without them. So, grab a screwdriver and the car owner’s manual to follow the steps below:
Step 1: Switch Your Car to Park Mode
The first thing we need to be concerned about is safety. Thus to start the process of removal, ensure that your car is on the safe side and parked. The whole procedure may take time, and you may not want to bother anyone passing. Therefore choose a quiet place. If your car works on a battery, turn on the Park mode.
Step 2: Disconnect the Car Battery
Disconnecting the car battery is an essential step. For all modern cars, disconnecting the Pioneer stereo car battery is mandatory. Failure to do so may lead to chances of an electrical short circuit. So, it is better to open up your car’s bonnet and locate your car’s battery.
Unplug the negative terminal from the clamp and do the same for the positive terminal. However, ensure they are still not in contact with each other. So, place them on the sides of your battery to avoid any electrical shocks.
Step 3: Remove the Pioneer Radio Faceplate
Faceplates serve as the security components to protect radios in vehicles. They usually are easy to screw and unscrew with the help of a button. Thus, depending on the type of model of the Pioneer stereo you have installed in your car, the faceplate may vary. So, if you see a tiny button on the trim ring, click it and gently pull off the faceplate.
However, if you do not see any buttons, you can take the help of a screwdriver. Move it around the corners of the faceplate till you hear them clicking. This clicking ensures that you are closer to taking it off. When you feel it loosening, take it off with your hands and pull it off. Please note that this is a relatively sensitive object, so try to be cautious not to break it during the process. That is it! You have successfully removed the Pioneer head units.
Step 4: Detach the Dashboard Covering
Next, we will be dealing with the dashboard panel. Your radio’s dashboard panel usually contains screws for securing it in place. Those with two vertical slots may skip this step and carry on with the rest of the process.
This part is only applicable to those who own newer cars like SUVs or Pajero Mitsubishi. These vehicles need you to put in some extra effort for removing gadgets like radio. However, it is almost similar to the removal of the faceplate. You have to repeat the same steps as above. Use a screwdriver to insert it into the corners of your dashboard. Keep on pulling the edges till you loosen it up. Take it off with your hands when done.
Step 5: Unscrew the AC vents and Bolts
Now it is time to deal with small components like bolts and the AC vents. In short, we must remove everything that might become an obstacle to our Pioneer stereo removal process. Thus, we will need our screwdriver again for this part. Use it to unscrew all edges of the radio. Remove the AC vents for more ease. However, be careful to go in the right direction when removing the vents to avoid damage.
Step 6: Remove the Wires Attached
Finally, here we are at the last step of our Pioneer stereo removal. You will notice that your car radio is almost dislodged, but there is a little more to go. The positive and negative wires connected to it do not let it loose. Thus we will deal with them here.
To remove the wires, take a closer look behind your radio. You will notice one of the antenna wiring holding the radio and those holding the audio, power, and clamp connections. Pull them out, and for the latter, squeeze the plug, then unclamp it. Congratulations! Your Pioneer radio is free at last and removed without any breakage.
Removing the Pioneer Car Radio Using Keys
If you have the Pioneer radio extraction keys with you, follow the instructions here. Using your hands, safely loosen the outer covering of the trim ring. Now, insert the extraction keys into the sides of the stereo trim and try to unscrew the clamped surfaces.
You should hear a clicking sound when doing so, indicating that you have secured the keys inside. Next, carefully pull out the Pioneer car stereo as you pull the extraction keys. You can use force to dislodge the radio but try not to cause any damage. There you have the detached Pioneer car stereo from your car.
Frequently Asked Questions (FAQs)
There are several questions that people often have in mind regarding the removal of the Pioneer car radio. Moreover, we have discussed the usage of butter knives, the time it takes for removal, and other alternatives. So, take a look below to understand how things work:
How long does it take to replace a Pioneer stereo?
Pioneer car stereo replacement can take as long as a few hours and as quick as twenty minutes. This depends on the availability of equipment and the method you are following. For removal using keys, the process is faster. Similarly, people who know how to handle such problems can remove the radio faster than those dealing with it for the first time.
Can I use a butter knife to remove a car radio?
Yes, if you have a butter knife it will work the same way as the screwdriver. Butter knives are also a good alternative to extraction keys. Thus, if you have accidentally misplaced your radio keys, use a butter knife to detach the radio. However, avoid using any kind of metal tool since it may scratch the surface of the radio.
Place them towards the right and left edge of the panel and gently slide them upwards to loosen them up. Repeat the same on the other side. Wiggle the radio system gently till you get a hold of it. That way, you can easily slide your radio outside with your hands.
Can I remove my Pioneer Car Stereo without a key?
Yes, you can remove a Pioneer car stereo without using DIN tools or an extraction key. This article describes the process of doing so using a screwdriver. Moreover, if you have access to butter knives, they may come in handy and act as replacements for your keys. Thus, follow the steps mentioned in this guide to remove a Pioneer car radio easily and without spending a penny.
Final Thoughts
We all like listening to our radio stations every once in a while. However, there are times when you want to remove the Pioneer stereo, whether for replacement or repair. Also, you may hear people bragging about how they fix everything themselves when it comes to the car stereo. You might not believe it but removing Pioneer car stereo is not as difficult.
Thus, this guide will help you dislodge your car stereo with keys and without them. So, read the instructions thoroughly as mentioned. Now you can save money by doing the steps yourself and groove to the music whenever you want.
Last Updated on October 11, 2023 by Brian Beasley