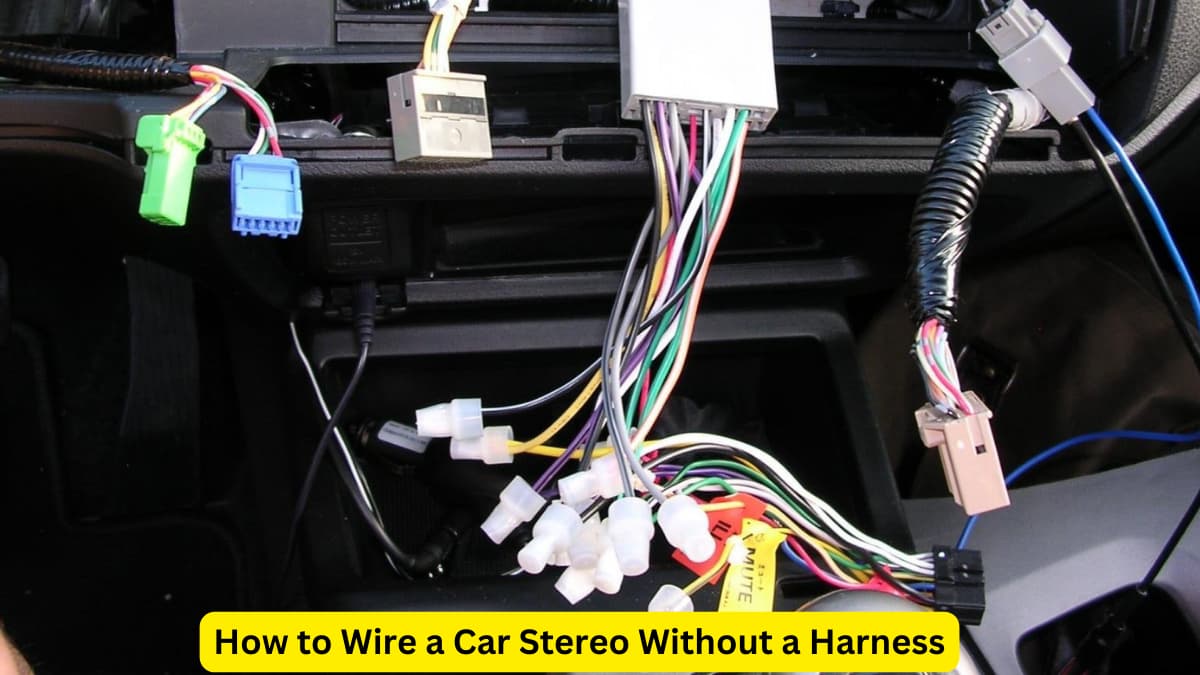
How to Wire a Car Stereo Without a Harness
Wiring a car stereo without a harness can seem tricky. But it can be done! You can do it yourself too. Here are simple steps and tips!
What You’ll Need:
- Car Stereo Manual
- Wire Cutters
- Wire Stripper
- Electrical Tape
- Connectors (e.g., Crimp Caps or Butt Connectors)
- Screwdrivers
- Wire Tester or Multimeter
Step-by-Step Process:
- Research Your Car’s Wiring: Grab your car’s repair manual. It will show where the wires are.
- Gather Tools and Stereo Manual: Get the tools listed above. Get your stereo’s manual too.
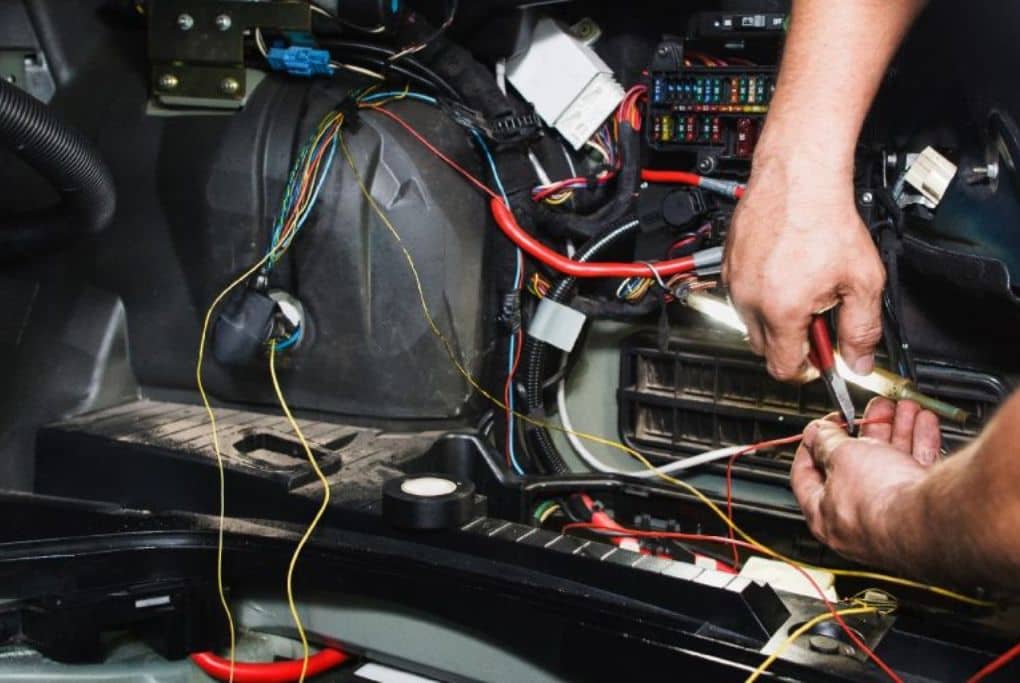
- Disconnect the Battery: Safety first! Always remove the negative cable.
- Remove the Existing Stereo: Take out the old stereo. Be gentle with the dash.
- Identify the Wires: Use the manuals to know which wire is which.
- Cut and Strip the Wires: Trim the wires. Uncover the ends with the wire stripper.
- Connect the Stereo Wires: Match them by their function, not color!
- Test the Connections: Use a wire tester or multimeter.
- Secure the Connections: Use electrical tape or connectors. Make sure they’re tight!
- Test Your Stereo: Before putting everything back, test it.
- Reassemble Everything: If it works, screw the stereo back. Then, reattach the dash.
Wiring Color Code Guide:
| Wire Color | Function |
| Yellow | Constant Power |
| Red | Switched Power |
| Black | Ground |
| Blue | Antenna/Amplifier |
| White | Front Left Speaker + |
| White/Black | Front Left Speaker – |
| Gray | Front Right Speaker + |
| Gray/Black | Front Right Speaker – |
| Green | Rear Left Speaker + |
| Green/Black | Rear Left Speaker – |
| Purple | Rear Right Speaker + |
| Purple/Black | Rear Right Speaker – |
ALSO READ:
| the Best Convertible Car Seat for Tall Babies? These Are the Safest and Comfiest Ones on the Market |
| Best Single DIN Flip Out Head Units and Stereos 2024 |
Important Tips:
- Safety First: Always remove the battery’s negative cable first!
- Manuals Are Key: Use your car’s and stereo’s manual for guidance.
- Quality Connectors: Use good connectors to avoid issues later.
- No Guessing: Never guess wire functions. Use your multimeter!
In conclusion, wiring a car stereo without a harness is like solving a puzzle. The main thing to remember is to match each wire to its correct function. This guide aims to make this task simple for you. Remember safety and precision are important.
If you are not fully sure about any step, it’s okay to get help. Take your car to a professional. That way, you keep your car and yourself safe.
Enjoy your new car stereo and the music it brings to your life!
Frequently Asked Questions On How To Wire A Car Stereo Without A Harness
Can I Install A Car Stereo Without A Harness?
Absolutely. Car stereo installation is possible without a harness by manually connecting the stereo wiring to the existing vehicle wiring.
What Tools Are Needed For Stereo Installation?
Essential tools include wire strippers, crimping tools, electrical tape, a soldering iron, and a screwdriver for effective installation.
Is Color Coding Important In Stereo Wiring?
Color coding is critical for identifying the function of each wire, ensuring a correct and safe installation of your car stereo.
How Long Does Wiring A Stereo Take?
Wiring a car stereo without a harness typically takes a few hours, but it largely depends on the installer’s expertise and experience.
Last Updated on April 25, 2024 by Brian Beasley